
Aside from its affordability, one of the great advantages of IKEA furniture is how versatile it is, making it easy to customize and blend in with the theme of your décor. In this article, we’ll explore everything you need to know about how to paint IKEA furniture, whether you are looking to jazz up your Billy Bookcase or give your Lack coffee table a total makeover.
Read on to discover what kind of paint is best for each material, how different kinds of paint impact the design of the piece, and some inspiration for an easy DIY project you can try at home to create a beautiful piece of custom furniture using IKEA’s Malm dresser.

Image source: Canva
How to paint IKEA laminate furniture
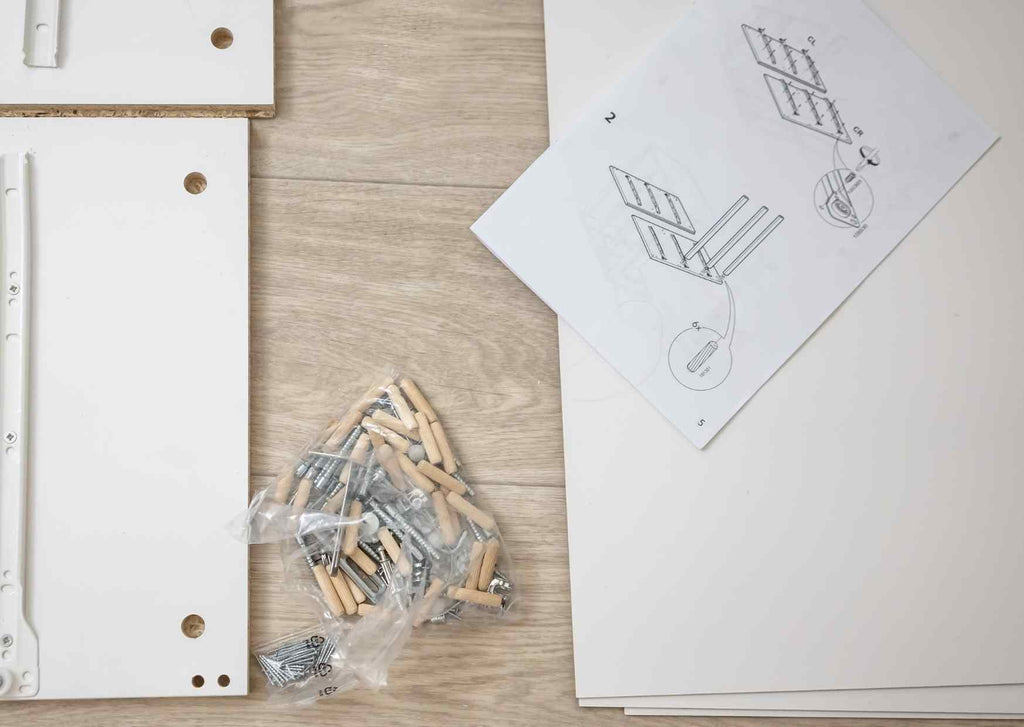
Image source: Canva
The best paint depends on what kind of material your furniture is made from. Laminate furniture is a man-made material that gives the appearance of wood grain and is commonly found in popular IKEA products such as the Billy Bookcase. Before painting laminate furniture, it’s important to add a primer's coat to avoid the paint beading and peeling right off.
Pro-tip: if you use a shellac-based primer you often won’t need to sand down the piece before painting. Latex paint works well on laminate furniture because it dries quickly and provides a smooth finish, while an oil-based paint is more durable. Chalk paint is also good for laminate furniture if you’d like to create more of a matte finish.
How to paint IKEA wooden furniture

Image source: Canva
If you’re painting a piece of solid wooden furniture such as the IKEA Ingo pine dining table, then you can choose from a wide range of paint types and finishes depending on your desired effect. Latex paint is available in a wide range of colors and finishes, is affordable, and easy to work with. For a matte look, paint with a satin finish is a solid choice because it reflects minimal light, while a semi-gloss finish will result in a shiny appearance.
For a distressed or vintage look, chalk paint can help you to achieve this look easily and usually doesn’t require any priming. Milk paint also gives the impressions of a worn-looking finish on wood, so it is great for a farmhouse-style décor theme or retro look.
How to paint IKEA metal furniture
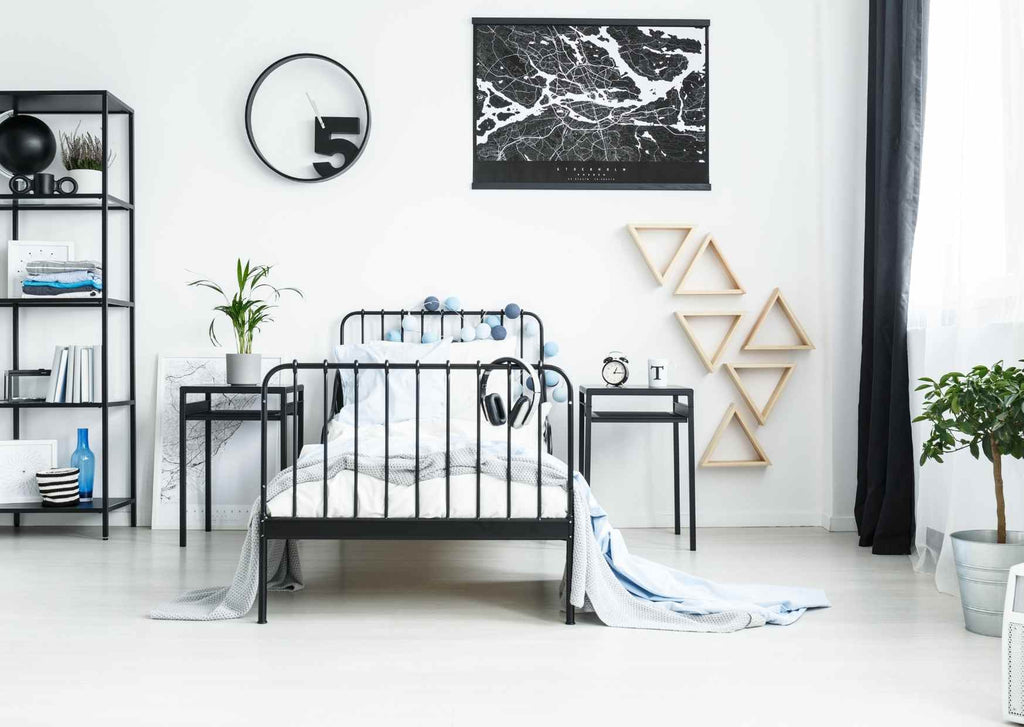
Image source: Canva
For painting metal IKEA products such as the PS cabinets, you’ll need to use a primer before applying your first coat of paint. Oil paint works well for metal furniture because of its durable qualities and will stop it from chipping or scratching easily. Oil paint takes longer to dry between coats (up to 24 hours), so keep this in mind when setting aside time for your DIY project.
Alternatively, you can use spray paint to transform metal furniture; just remember to mask off any areas before spraying to ensure a clean finish. As with latex paint, spray paint comes in a wide range of colors and finishes to choose from depending on your desired effect.
DIY project I: Paint and transform your IKEA Malm dresser into a stunning statement piece

Eleanor drawer fronts in Silver Sage on a Malm dresser in oak. Finished with Elisabeth knobs in brass.
This DIY project will transform your tired IKEA Malm dresser into an on-trend minimalist piece fit for a designer showroom!
- Start your project by creating space in a room, cover the floor with a protective sheet, and disassemble your Malm dresser carefully, laying each panel flat onto the floor.
- The components in your Malm dresser that you will be painting are made from particle board, which consisting of recycled wood chips covered with acrylic lacquer, putting it into the laminate category of furniture. Because of the particularly glossy finish on Malm dressers, you should consider giving the piece a light sanding before priming.
- Next, use a shellac-based primer to prep your dresser for painting using a mini-roller, adding multiple coats if you are painting a dark-colored piece to achieve an even finish. Once your dresser has been sanded and primed, you’re ready to start painting.
- Choose your paint type; latex, oil, or chalk, your preferred color, and finish. For a minimalist design, we suggest opting for a simple color palette, for example, light colors like pale blue, light green, white, and gray. If possible, use a mini-roller to apply the paint rather than paintbrushes which take a longer time to get an even finish. Once your paint has dried, after a few days you can apply an optional coat of sealing to create a longer-lasting durable finish.
Once the painting process is complete, elevate your Malm dresser to designer status by customizing it with sophisticated new drawer fronts by Norse Interiors. Our Astrid range of drawer fronts are designed to fit perfectly onto existing Malm dressers and come in a range of five beautiful shades to complement any minimalist color palette with their clean and simple lines.
DIY project II: Revamp your IKEA Besta storage by painting already primed components from Norse

Amelia doors and panels on a Besta cabinet made into a storage bench. Finished with Elisabeth knobs in brass.
If you want an even easier DIY project, you can get our Besta doors and panels in the DIY finish, which means that they're already prepped and primed. You just need to add the final coat of paint. Use water-based paint and make a truly custom piece you can call your own.
For the final touches, add some high-quality Norse Interiors knobs or pulls in brass, chrome, or black to complete the transformation from a dull dresser or cabinet to a statement piece.
-----------
You might also like The best IKEA hacks 2020.
Author: Tanja Warwick