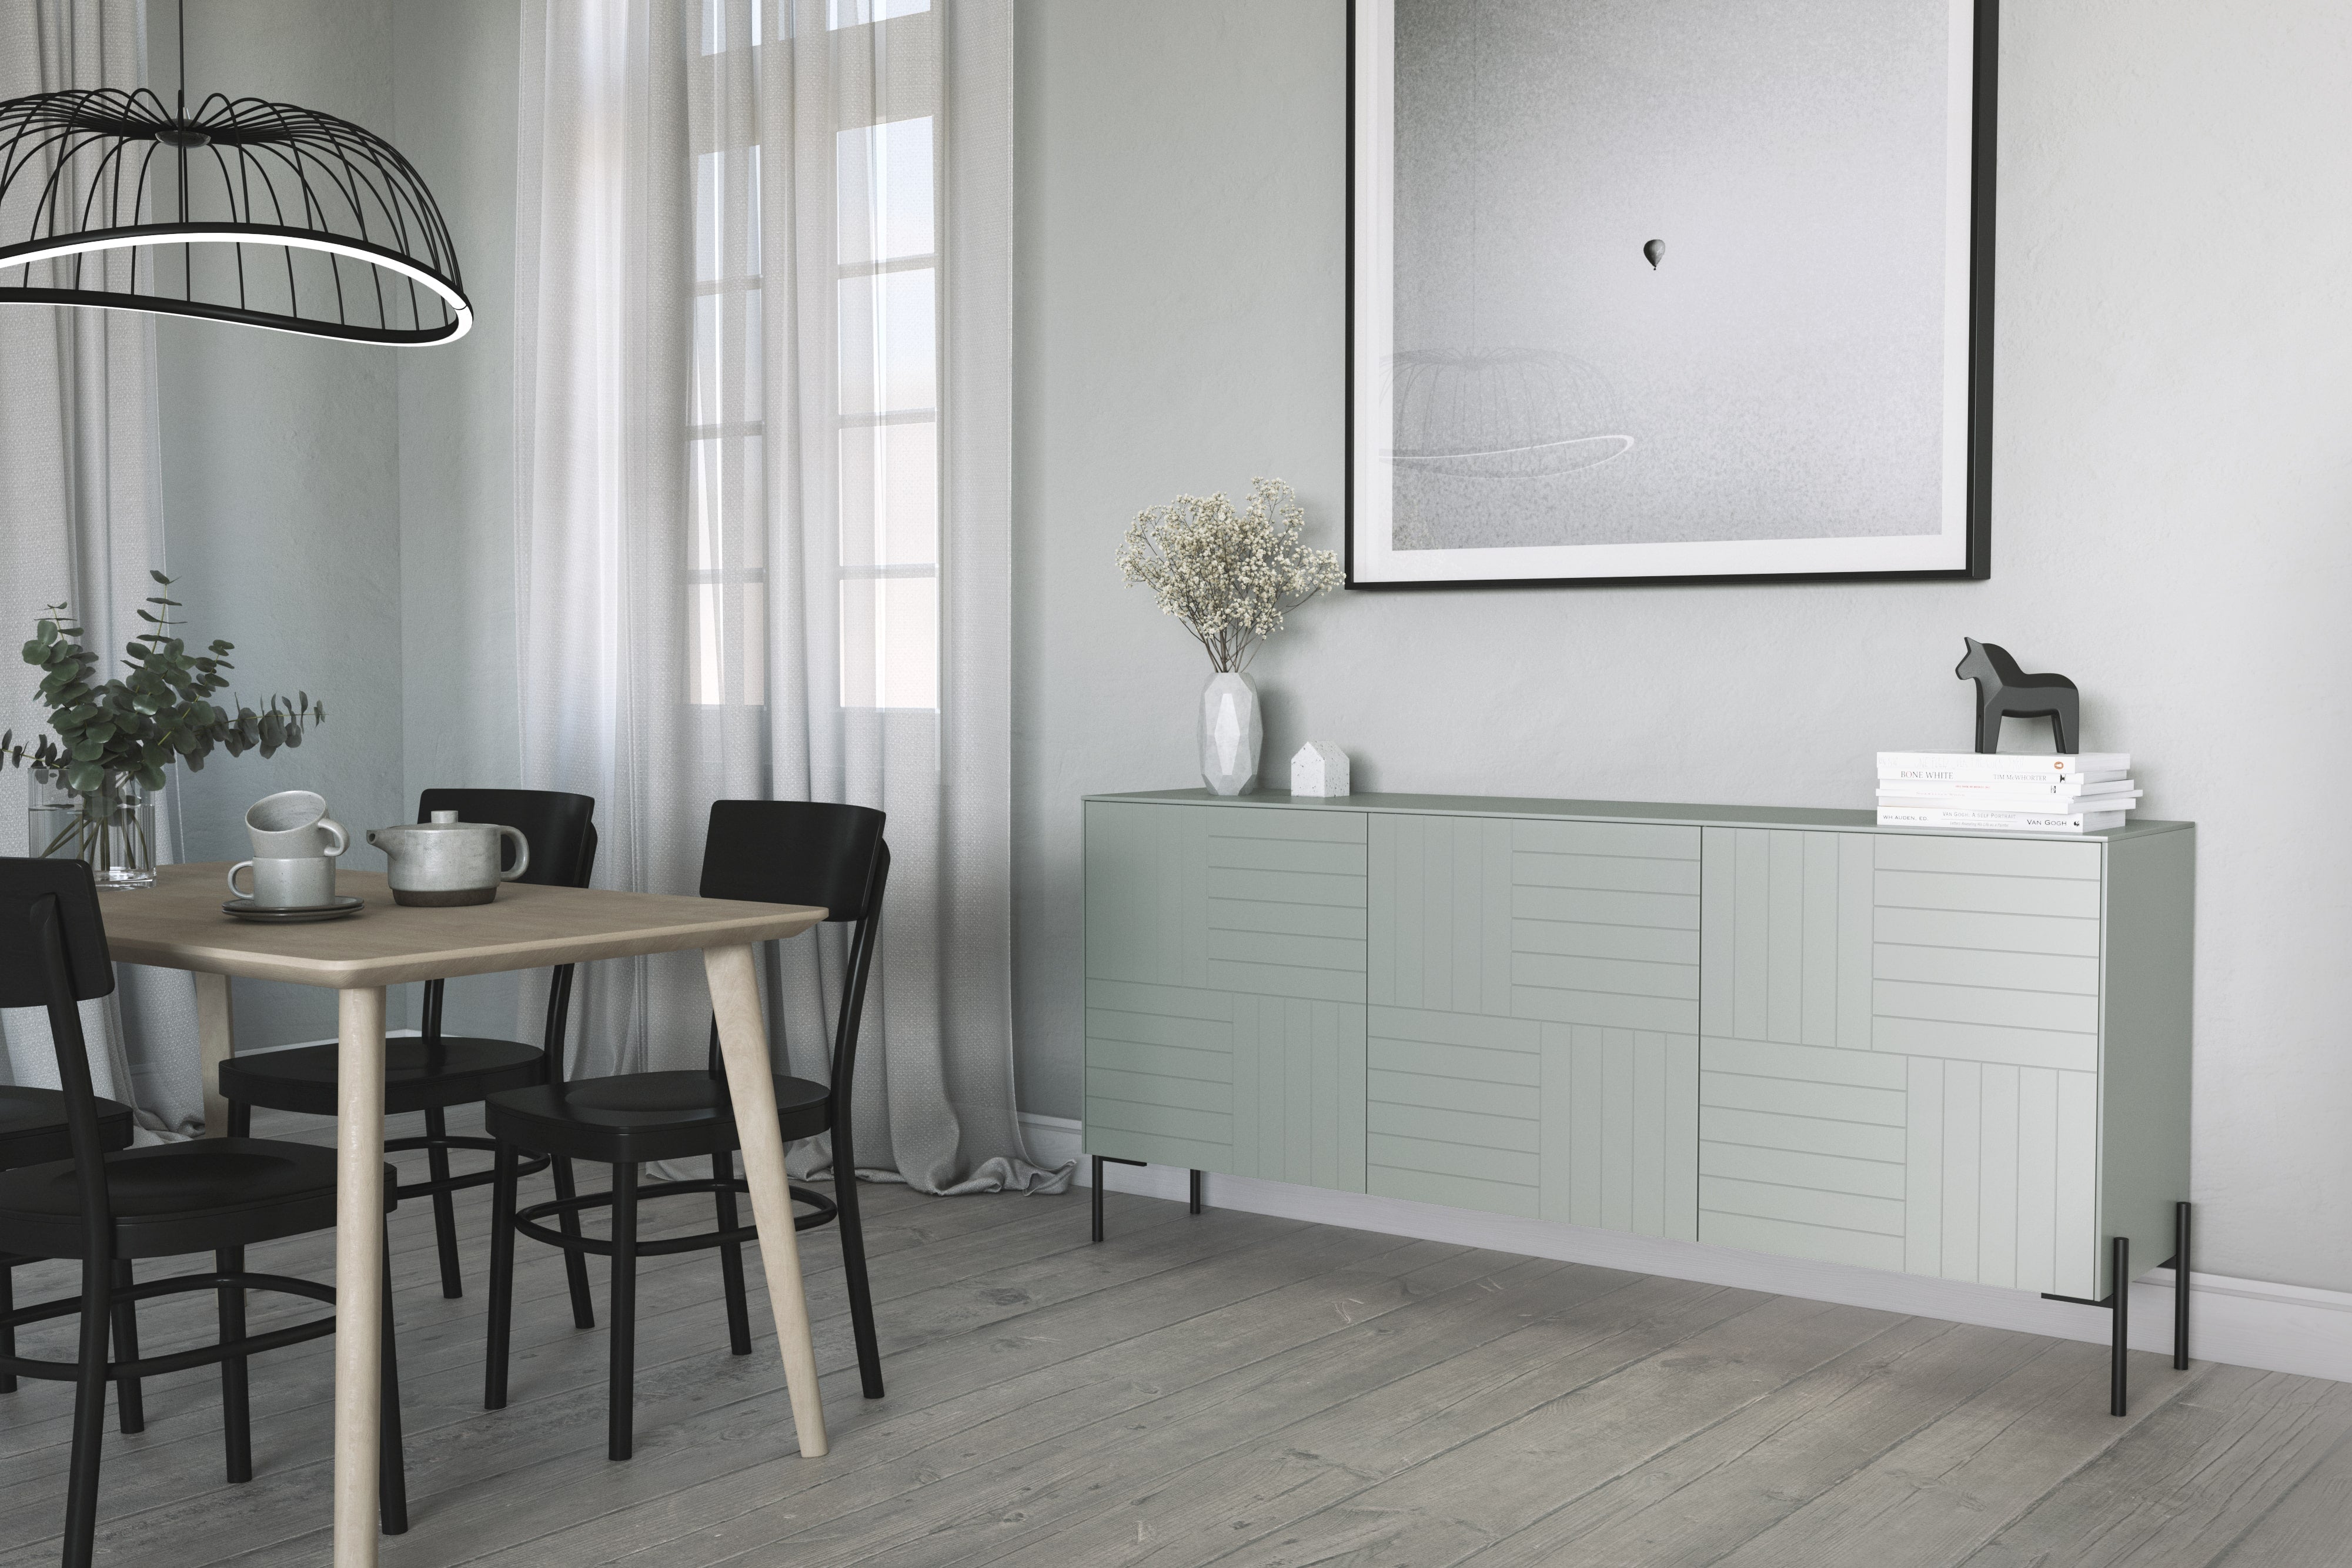
Did you know you can adjust IKEA's BESTA cabinet hinges in height, depth, and width? You can, and it will make your Norse Interiors fronts for IKEA BESTA and SEKTION look even more flawless.
Not all floors are perfectly level, which is why you might need to adjust the hinges to level the doors and also achieve consistent spaces between the doors. IKEA's hinges have three screws that control the height, depth, and width by loosening or tightening them.
As easy as 1-2-3
When you are adjusting the doors, you should never touch the screws that are used to attach the doors to the frame. Instead, focus on the screws marked in the illustration.

1) Screw #1 moves the door up and down, allowing you to adjust the height of the door. You can decide if you want it closer or further away from the top panel.
2) Screw #2 has two purposes. By loosening it completely, you can take the hinge apart, allowing you to attach one part of the hinge to the frame, and the other to the door, before connecting the two. Once you've put the hinge together again, you can decide how far out your door should be from the frame.
3) Screw #3 makes the most significant impact when adjusting your door, straightening it and evening out the gap with other doors. Adjust this one with a gentle touch. You tighten this screw by turning it to the left, which may feel counterintuitive. By turning it to the left, the right side of the door will move upwards.
With small adjustments, you will achieve a perfectly leveled result. If you prefer watching a video on how to do it, check this out:
Our BESTA and Sektion door fronts are pre-drilled for the IKEA hinges. Once you get the frames (with no doors for a zero-waste upgrade, if possible) directly from IKEA, select your design, color, and accessories from Norse Interiors. You can get everything from Norse Interiors and IKEA shipped right to your door. After a quick assembly, you have custom furniture for a fraction of the cost.
If you're adjusting hinges for IKEA Sektion pieces, check out this Sektion hinge tutorial. Check out our broader How it works page for more details on customizing IKEA pieces.
-----------
You might also like: How to assemble the Besta cabinets.
